How to Set Up and Publish Your Custom Domain in Groove
Setting up your custom domain to Groove is a pretty straightforward process to follow. All you need is a Groove account which you can get for FREE on our affiliate website and your preferred domain name from any domain providers.
Connecting your domain means that instead of groovetest.groovepages.com, you can customize it and get rid of the GrooveBlog in the URL which gives you groovetest.com.
There are three main essential steps to connect your domain to your Groove site.
- Add your domain name to Groove, e.g., GroovePages, GrooveBlog, GrooveSell (the funnel), GrooveSell (tracking).
- Update your domain name's name servers and point it to Groove.
- Add new records to your Groove site.
Getting Started
If you don't have a domain name yet, you can purchase from one of the standard providers, Namecheap.
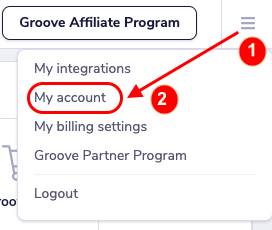
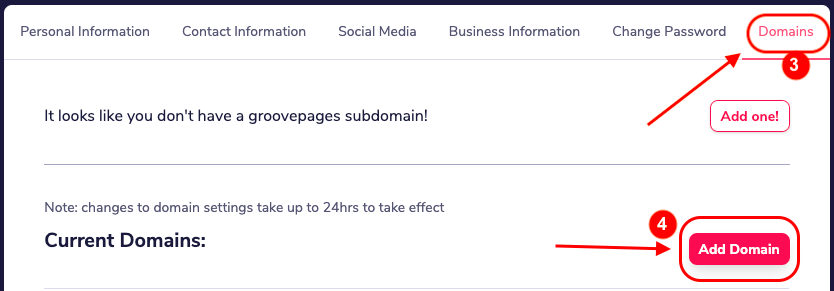
Step 1. Log in to your Groove account and click on the Menu bar > My Account > Domain > Add Domain.
Step 2. Enter your domain name into the Domain URL field. Then choose which app you would like to use the URL for, click Yes; please let Groove host the site for you, and hit Save.

Step 3. Log in to your domain registrar account and replace any existing name servers with:
- apollo.ns.cloudfare.com
- uma.ns.cloudfare.com
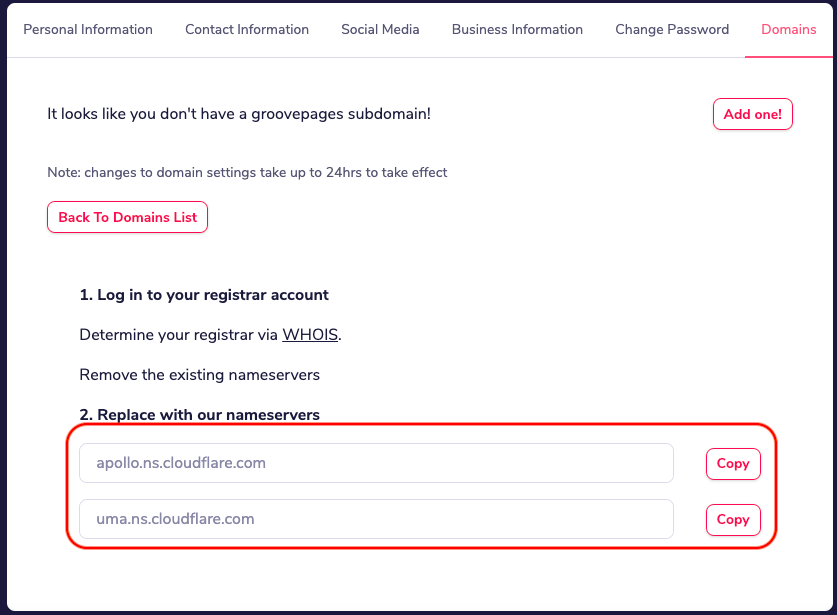
Note: The process for changing your nameservers varies for each registrar.
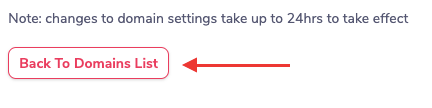
Step 4. Once you're done doing the above, go back to your Domains List and check if the domain is already active.

Note: Changes to domain settings may take up to 5minutes or 24hours to take effect.
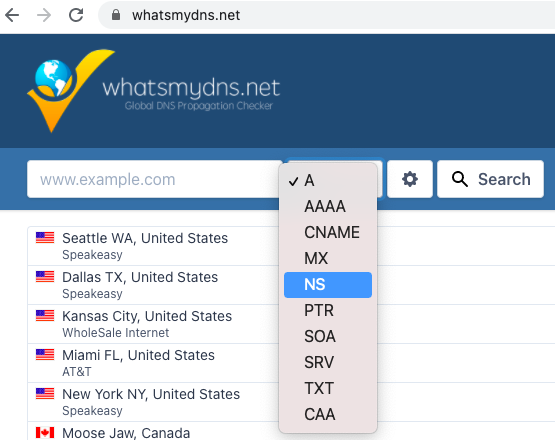
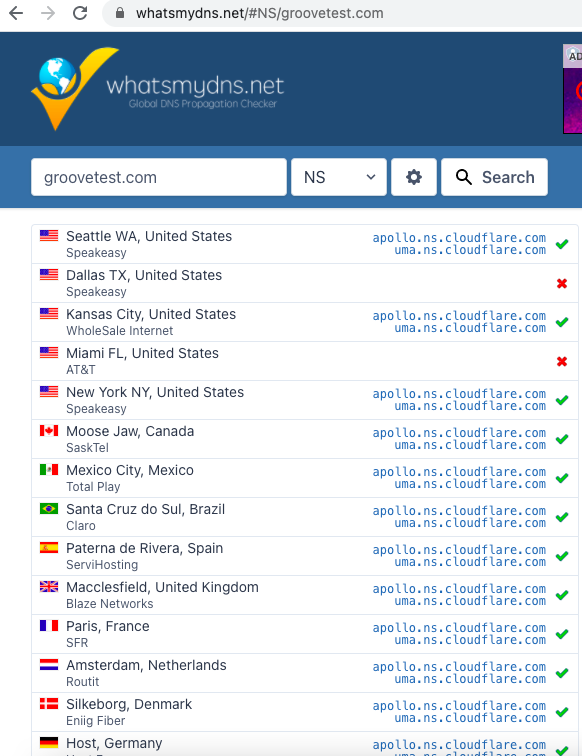
Bonus Tip: You can check your domain's status by using the DNS propagation checker whatsmydns.net that tells you whether the DNS is propagating or not yet.
If you can see some x marks, it only means the propagation is not yet complete.
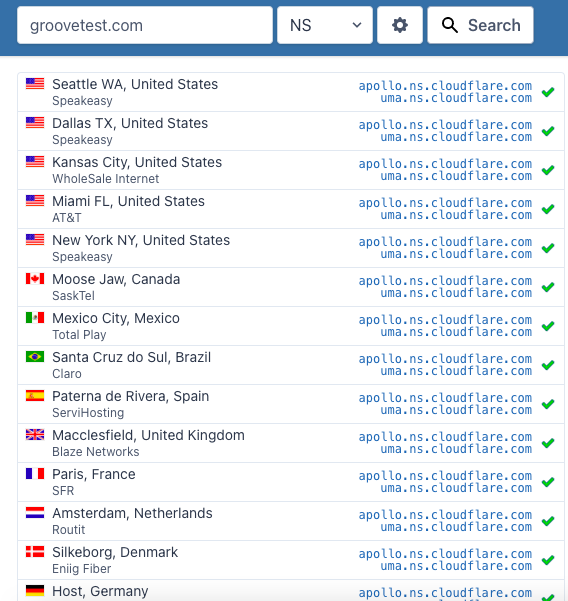
This is how it'll look like if the propagation is complete.
Step 5. Once the domain is already active, click Edit > Add Record,

then key in the following details:
- Type: CNAME
- Name: www.groovetest.com
- Content: @
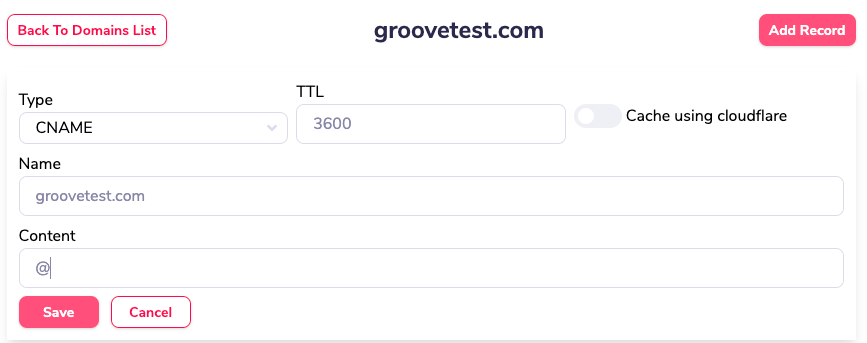
Step 5. Click Save.
Step 6 Repeat Step 7 and add a different record
- Type: CNAME
- Name: @
- Content: host10.groovepages.com
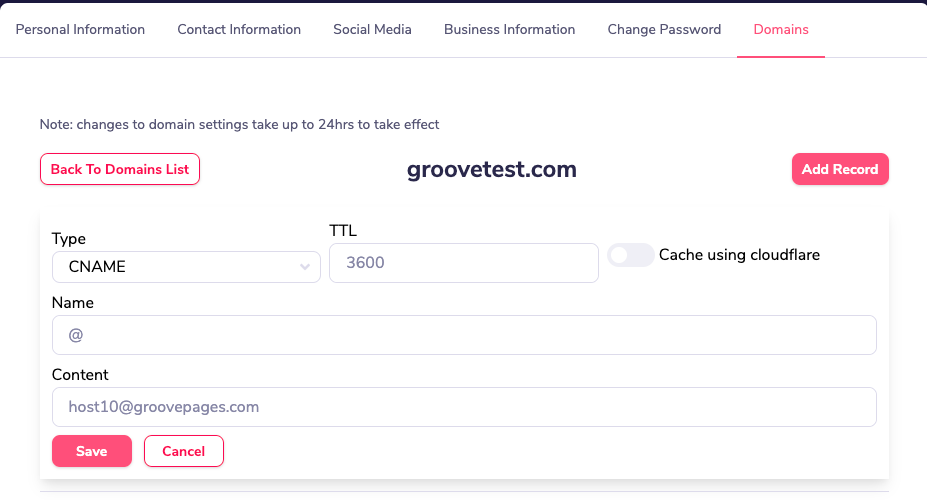 Save and Enable both records.
Step 7. Return to GroovePages, GrooveSell, GrooveBlog, or whichever app you'd like to use the domain name for.
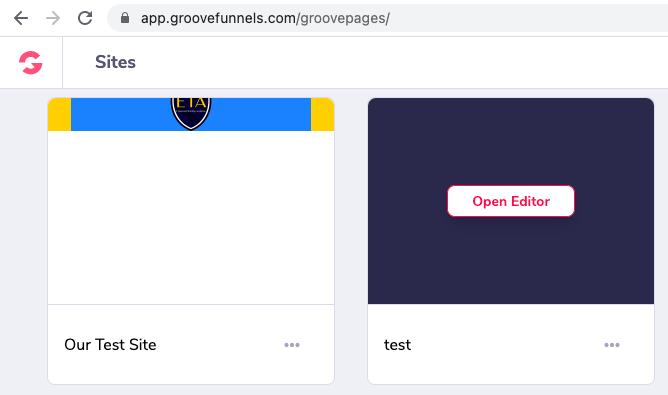
Step 8. Go to your My Sites > Open Editor > Publish > Select Domain.
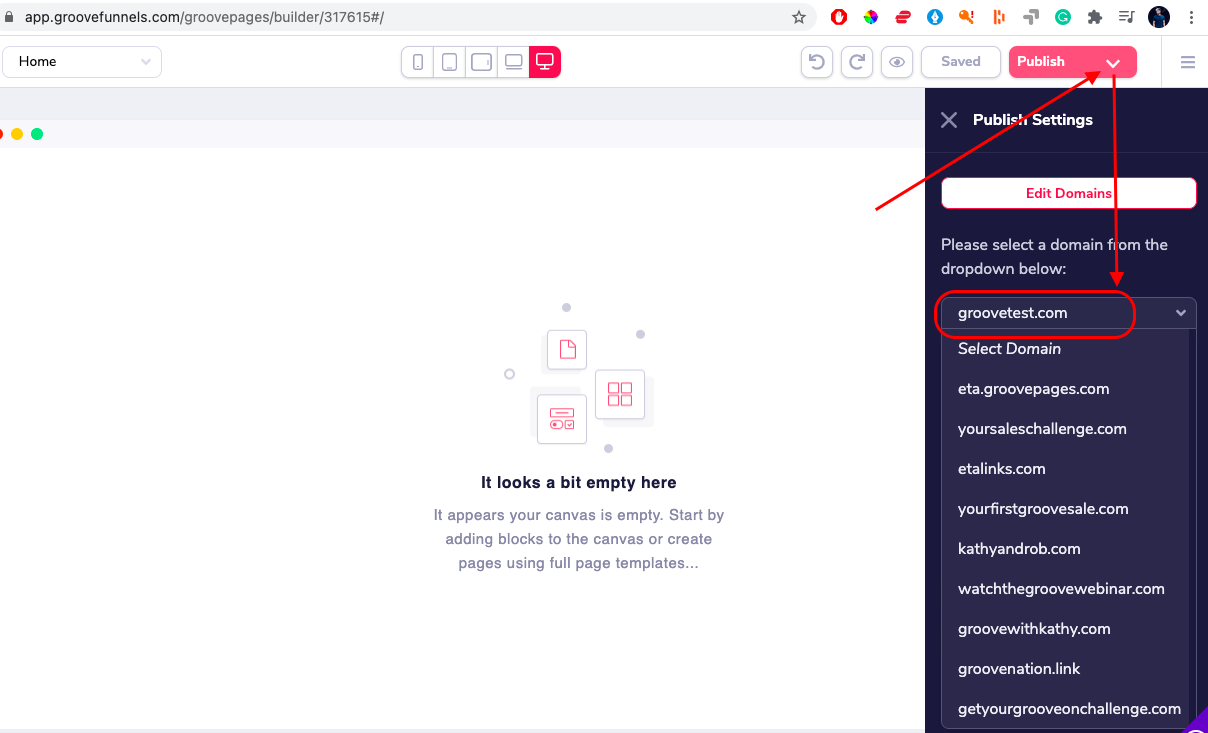
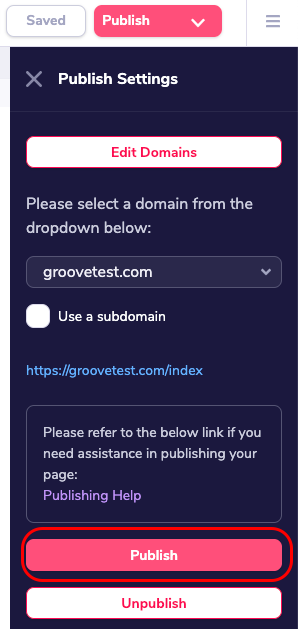
Step 9. Hit Publish.
The nice thing about Groove is that it redirects automatically to a secure server. To watch the actual process of adding a custom domain to Groove, please click here.
Do you want to learn how you can use GroovePages, GrooveMail, and GrooveSell for your affiliate marketing, or would you like to create and sell your own digital products using GrooveDigital GrooveFunnels? Make sure you join the best Groovefunnels Facebook group out there! Groove Nation. We provide training and mentorship and help you succeed. We add new Groovefunnels, Groovepages, Groovemail, and Groovemember walkthrus, training, tips a few times a week.
=================================================
▶ FACEBOOK: https://www.facebook.com/groups/TheGrooveNation
▶ YOUTUBE SUBSCRIBE: https://rebrand.ly/ETA-YouTube-Subscribe
Want more information about GroovePages?
Get started for FREE (like no credit card free)
=================================================