How to Set Up GrooveBlog for FREE in GrooveFunnels
Ever wondered how to start a blog? Now you can for free using GrooveBlog, part of the Groovefunnels package.
Before you start creating and posting, make sure to get your GrooveFunnels account and signup for free.

GrooveFunnels is a suite of digital marketing tools that allows you to build sales funnels, landing pages, and websites. But one of the other amazing things that GrooveFunnels has to offer is allowing users to create their blog post.
What to expect inside the GrooveBlog
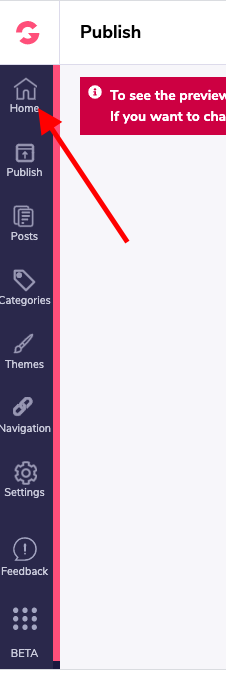
Once log into Groove, click on GrooveBlog on the navigation bar.

Similar to a WordPress backend, GrooveBlog has the following:
- Home. This is the main page where you can find all blogs you created.
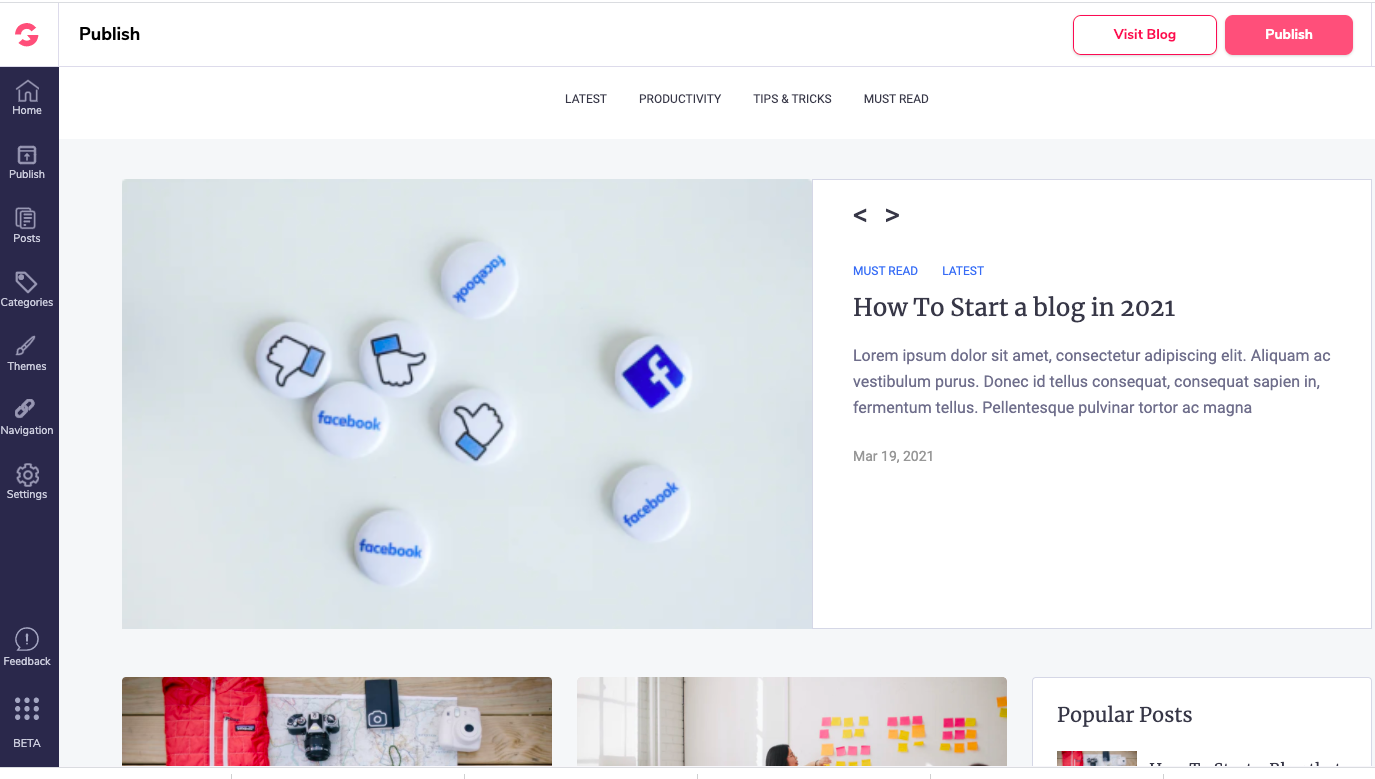
- Publish. This is designed to publish your blogpost in public.
- Posts. This is where you manage all your blogs.
- Categories. This is where you define your categories. You can rename, add or delete categories that you think are not necessary.
- Themes. Currently, there’s only one available theme which is GrooveBlog Classic
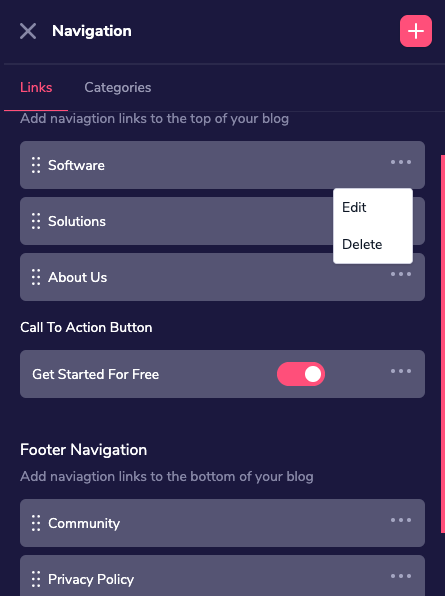
- Navigation. This controls your top, call to action, and footer navigations.
- Top Navigation - you can rename them or even add a new one and link each to a blog post or page.
- Call to Action - this button directs you to a specific page where you can take immediate action.
- Footer Navigation - this can be found at the bottom section of your blog page and can be linked to their pages respectively. Just like Top and CTA navigations, you can also rename, add, or delete pages that you think are not necessary.

- Settings. Before you start creating your new post, you need to configure its settings. This is where you can customize your blog’s root, your domains, logo, favicon, social links, and more.
Now let’s get started. Here’s the easy guide on how to create blog posts in GrooveBlog.
Step 1
Login to your GrooveFunnels account and click on GrooveBlog.

Step 2
Click New Blog.

Step 3
Once you clicked the New Blog button, a pop-up window comes out where you can set up the name of your blog and your subdomain.
NOTE: Right now, you can only use grooveblog.com as your top domain. We will update this post once Groove allows us to have our own domain.

Step 4
Click the Home button and it will open the list of blogs you have created including the Test Blog.

What happens after you click the blog you created is that it will load some pre-default blog posts or templates that you can use as your starting point when writing your blog.
Step 5
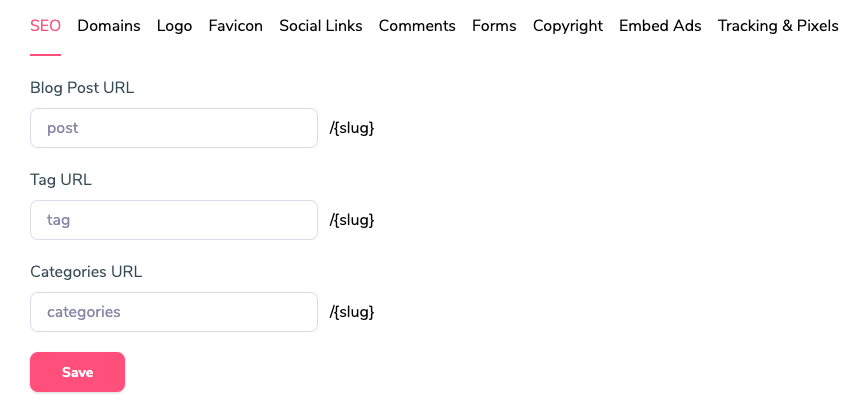
Configure the settings of your blog.
- Slug is the part of your URL that you can edit when writing a new post. You can define them as posts, tags, or categories.
- Domain is where you can find the name of your subdomain that you set up on Step 3

- The recommended logo size would be 125 x 31 pixels in PNG file format and should have a transparent background.

- Favicon’s recommended size is 16 x 16 pixels in PNG format and with transparent background

- You can also add your social media links such as Facebook, Instagram, Twitter, LinkedIn, and more.
- In a blog, you have the ability to add comments. But right now, Groove doesn’t have that available feature. However, you can still do that using Facebook. All you have to do is go to Facebook for Developers. If you don’t have an account, just create one for free. Once you do that, go ahead and click My App as seen on the screenshot below:

Then click the first option, and continue.

You can create your preferred app display name, add your contact email, and your app’s primary purpose. Click Create App when done, and complete the Security Check, then submit.

Copy the App ID then paste it to Facebook App ID field on the Comments tab of GrooveBlog Settings

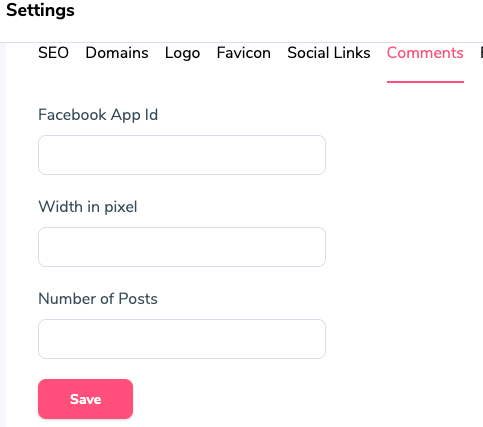
What this usually does is that it basically shows a Facebook comment area where readers can post their comments. The ideal width that we highly recommend is 600 pixels. And then you can add the number of posts that you want to see.
- You can also add a newsletter form where readers can opt-in and integrate it with your GrooveMail.
- Copyright is usually found in the footer section of your blog page.
- Embed Ads is a new feature that usually allows you to show ads between your posts. Since this is a new feature, let’s skip this for now.
- If you have tracking pixels from Facebook, for instance, the Tracking Pixel tab is where you need to put that in.
Step 6
The navigation tool allows your readers to flow from one page to another. And as previously mentioned, you can rename or remove the links you think are not necessary. To edit or delete, just click the three dots on every field. This is applicable to Top, Call To Action, and Footer navigations, and Categories.
Step 7
And now you’re all set to create your first new post. To start, click New Post
Add your title and body of your blog. You can also insert images and other forms of media, and embed an HTML code.

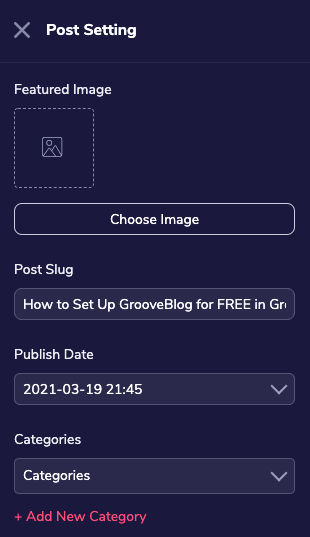
The gear icon is where you can configure the settings of your post such as featured image, keywords, metadata which is the snippet of your blog post, the carousel which is by the way a new feature that creates a slideshow of all your blog posts once checked, and more.

That’s basically how you set up or create a blog inside GrooveFunnels. Watch our video tutorial for visuals of how the step-by-step process. If you don't have a GrooveFunnels account yet, get one for free here.